Key Takeaways
Most pool tile repair San Diego homeowners need comes down to identifying the true extent of delamination, removing failed tile and setting materials back to a stable substrate, and rebuilding with submerged-rated mortars and grout with proper cure time. Repairs last longer when the underlying contributors—movement at the deck-to-pool interface, moisture intrusion paths, and chemistry/cleaning stress—are addressed alongside the visible loose tile and missing grout.
- Early warning signs matter: Hollow-sounding tile, shifting pieces, cracked or missing grout, and recurring calcium at the waterline can indicate a failing bond coat, so adjacent sections often need sounding to avoid repairing only the obvious loose tiles.
- Failures are usually multi-cause in San Diego pools: Tile loosening commonly results from deck-to-pool movement, moisture intrusion behind the tile, and water chemistry or aggressive scale removal acting together, rather than a single issue.
- Durability depends on prep, materials, and cure time: A proper process includes controlled removal of compromised mortar, substrate rebuilding/leveling where needed, setting tile with appropriate thinset for submerged use, and following product-specific curing and startup guidance because timelines vary by materials and weather.
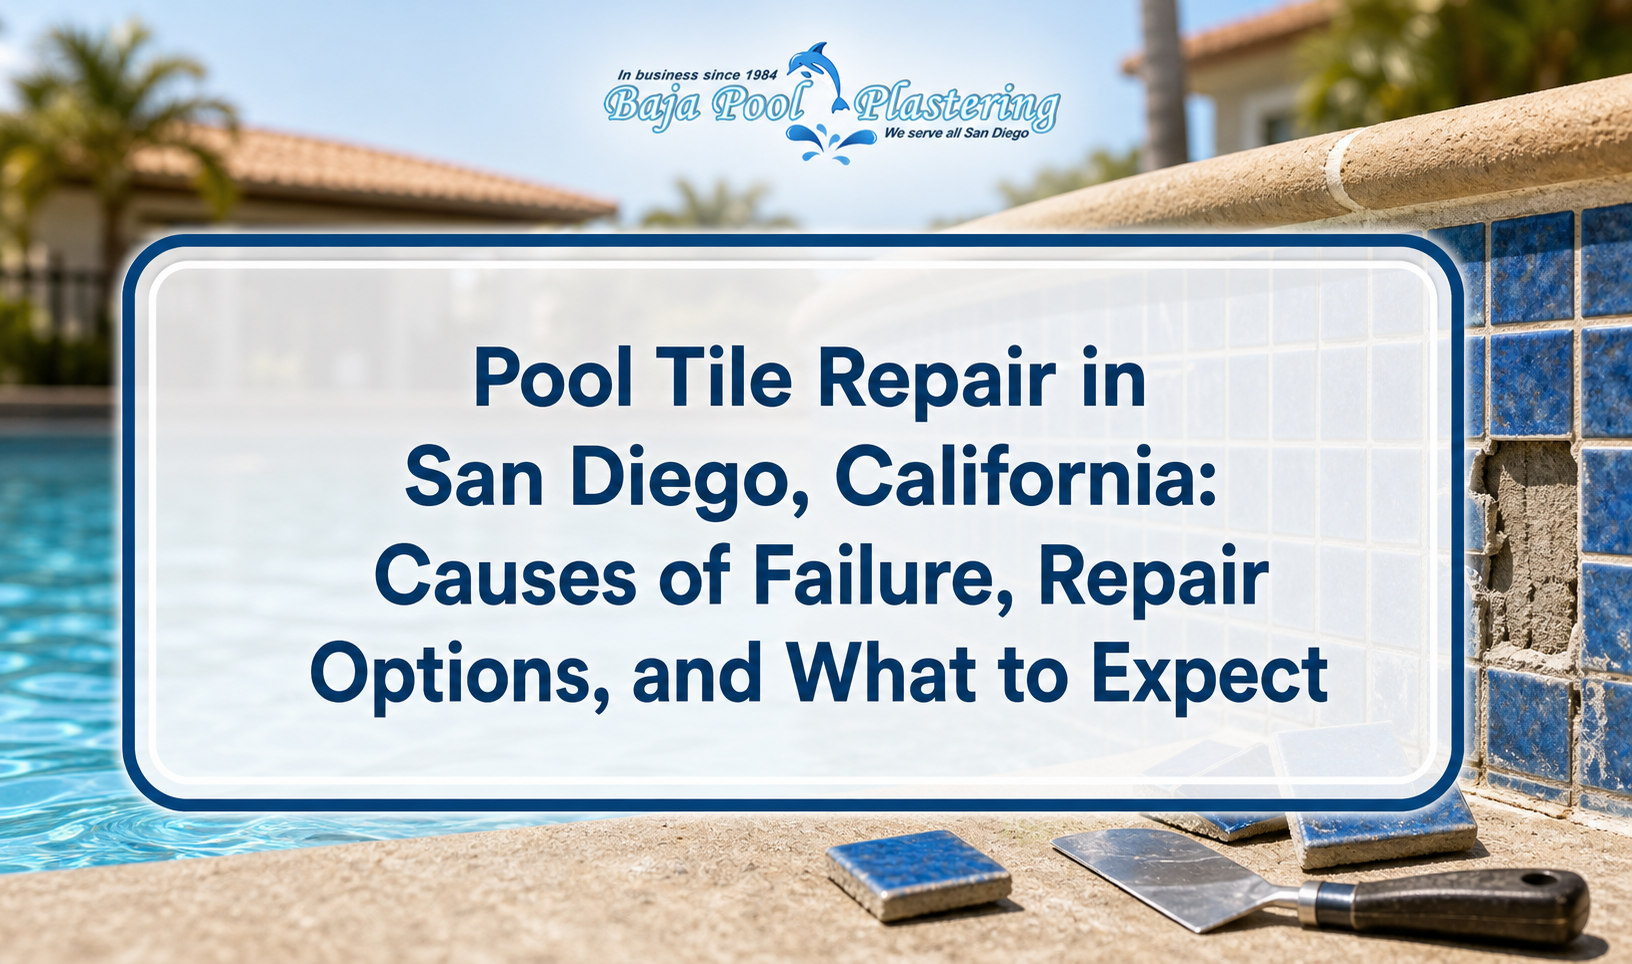
Pool tile repair San Diego homeowners request most often involves reattaching loose waterline tile, replacing cracked sections, and correcting the underlying bond failure caused by moisture intrusion, movement, or worn setting materials. When tile starts popping off or grout erodes, water can reach the bond coat and pool shell, which can accelerate damage and make future repairs more extensive.
In San Diego’s coastal and inland microclimates, tile failures are commonly tied to thermal expansion, deck-to-pool movement, and water chemistry that gradually weakens grout and adhesives. Calcium scale buildup at the waterline can also hide early signs of delamination, while improper surface preparation during past work may lead to hollow-sounding or slipping tile.
This guide covers the most common causes of tile failure, repair options ranging from spot repairs to full waterline retile, and what to expect for prep, curing time, and startup—so you can plan the work with fewer surprises and reduce the chance of repeat failures.
Common Signs Your Pool Tile Is Failing
Most pool tile repair San Diego projects start after homeowners notice loose tile, missing grout, or persistent calcium deposits that keep returning. Catching the early warning signs can limit how much tile has to be removed and rebuilt.
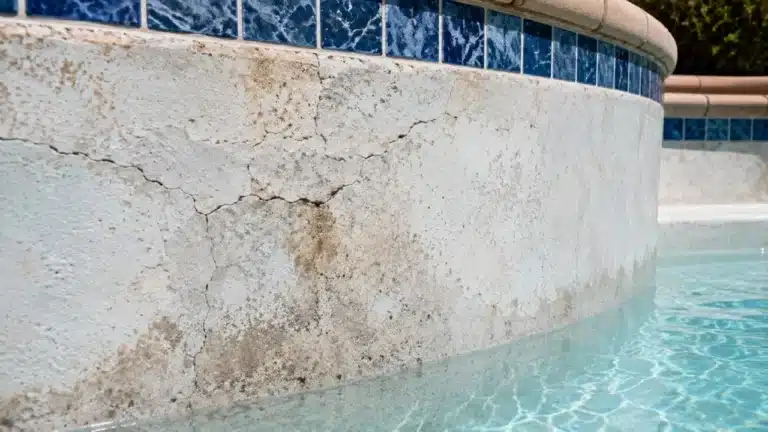
Tile problems often show up first along the waterline because it’s where moisture, chemicals, and temperature swings concentrate. Some symptoms look cosmetic at first, but they can point to a failing bond coat beneath the tile.
- Hollow-sounding tile: Tapping produces a dull or “drummy” sound, suggesting delamination behind the tile.
- Loose or sliding pieces: Tile shifts when pressed, or pieces slip down the wall.
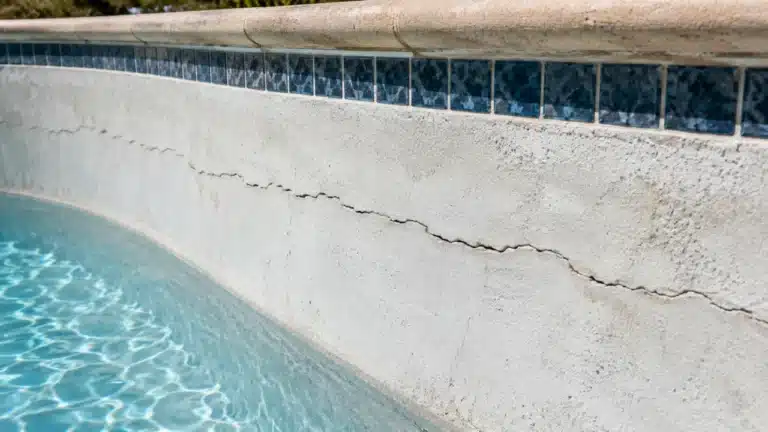
- Cracked or missing grout: Open joints allow water to reach the setting bed and shell.
- Recurring calcium at the waterline: Scale can mask cracks and voids; when removed, missing grout or gaps are revealed.
- Rust staining or dark lines: May indicate moisture movement behind the tile line (requires investigation).
- Sharp edges or exposed setting material: Increases cut risk and accelerates water intrusion.
If the tile line is failing in multiple areas, it’s usually worth checking adjacent sections for hidden delamination rather than repairing only the obvious loose pieces.
Why Waterline Tile Fails in San Diego Pools
Tile failures are usually caused by a combination of movement, moisture intrusion, and bond breakdown rather than a single issue. San Diego’s microclimates—coastal humidity, inland heat, and cool nights—can speed up expansion/contraction cycles at the tile line.
Movement at the Deck-to-Pool Interface
Small shifts between the pool shell and surrounding deck can stress the tile line, especially near the coping. Over time, this movement can shear grout joints and weaken the tile bond.
Common contributors include settling, aging expansion joints, and hardscape drainage directing water toward the bond beam. If movement is ongoing, tile repairs may crack again unless the underlying condition is addressed.
- Failed or missing expansion joint material
- Rigid deck materials transferring stress to the bond beam
- Soil movement and long-term settling
- Minor seismic activity (rarely the only cause, but can contribute)
Moisture Intrusion Behind the Tile
Once water finds a path behind tile—through eroded grout, hairline cracks, or poorly sealed transitions—it can soften or undermine the setting materials. This is a frequent trigger for “popping” tile.
Moisture can also carry dissolved minerals that later crystallize, creating pressure and pushing tile outward. Determining the water path is key, because reattaching tile without correcting the entry point can lead to repeat failures.
Water Chemistry and Cleaning Methods
Water chemistry that drifts out of balance can accelerate grout erosion and damage some setting materials over time. Aggressive scale removal methods can also loosen tile if not done carefully.
- Low pH / aggressive water: Can contribute to grout degradation and surface etching.
- Scale cycles: Heavy calcium buildup followed by strong removal efforts can stress grout lines.
- Abrasive tools: Metal scrapers or harsh grinding at the waterline can chip tile edges and open joints.
Because pool chemistry is a system, it’s best to evaluate the tile problem alongside overall pool condition—circulation, filtration, and surface wear—rather than treating tile as an isolated issue.
Improper Prep or Incompatible Materials from Past Repairs
If the original tile was installed over a dusty surface, old adhesive, or a weak bond coat, failures can appear years later as the materials age. Mismatched mortars and grouts (or rushed cure times) can also reduce bond strength.
When a repair history includes multiple patch jobs, it’s common to find layers of incompatible material that need to be removed before a durable reset is possible.
Pool Tile Repair Options (Spot Fix vs. Partial vs. Full Retile)
The best repair approach depends on how widespread the delamination is and whether the bond coat is still sound. In many San Diego pools, a targeted repair works well when failures are truly isolated, but widespread hollow tile usually calls for a more involved rebuild.
| Repair Approach | Best Fit / Typical Scope | San Diego Planning Notes |
|---|---|---|
| Spot tile reset (few tiles) | A small number of loose tiles with solid surrounding bond coat and intact structure | Good for early failures; ensure matching tile availability and confirm no hidden delamination nearby |
| Sectional waterline repair | One or more runs where grout is failing and multiple tiles sound hollow | Often needed where deck movement or scale removal has stressed a stretch of tile; may require careful tie-in to existing tile |
| Full waterline retile | Widespread delamination, poor past prep, inconsistent tile plane, or multiple prior patches | May be timed with other work to reduce repeat draining and downtime; verify coping/expansion joint condition at the same time |
| Tile + bond beam / coping interface correction | Failures concentrated near coping line, visible cracks at the top, or recurring grout splits | Coastal moisture and deck drainage can worsen issues; correcting water pathways and joints helps reduce recurrence |
Choosing between sectional work and a full waterline retile often comes down to how much tile sounds hollow and whether the underlying setting bed is stable. A careful evaluation can prevent “chasing” failures one patch at a time.
What a Proper Pool Tile Repair Process Looks Like
Durable repairs rely on removing compromised materials and rebuilding the tile line with appropriate mortars and grout—not simply gluing tile back on. The exact steps vary by pool type and tile, but the fundamentals are consistent.
1) Inspection and Sounding
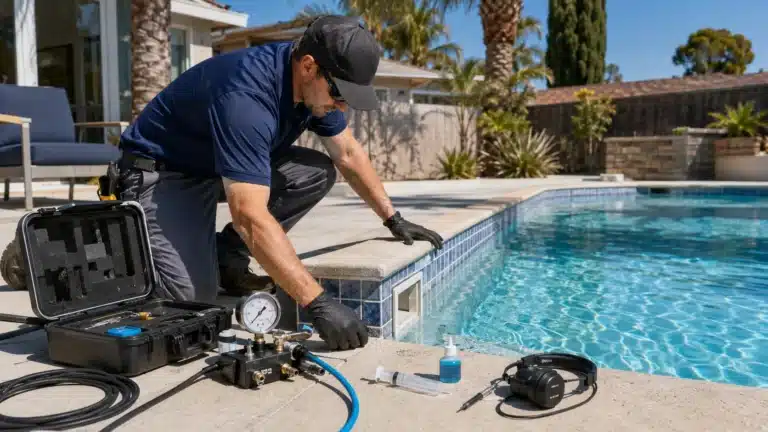
A good assessment identifies not only loose tiles but also adjacent hollow areas that are likely to fail soon. This is usually done by sounding (tapping) and visual checks of grout, cracks, and alignment.
- Map hollow vs. solid areas to define the true repair boundary
- Check corners, steps, and returns where movement often concentrates
- Look for water paths from the deck side (sprinklers, drainage, washdown patterns)
2) Controlled Removal of Tile and Failed Setting Material
Failed tile and compromised mortar must be removed to a stable substrate so the new bond can hold. Rushing this step can leave weak material behind, which becomes the new failure plane.
- Remove loose and hollow tile in the marked areas
- Chip out deteriorated mortar/bond coat without damaging the shell
- Clean residues so the new mortar can mechanically bond
In some pools, removal exposes uneven surfaces that require a float/patch step to restore a flat, consistent tile plane.
3) Substrate Prep and Rebuild (Leveling, Waterproofing Where Appropriate)
Prep typically includes cleaning, profiling, and rebuilding the setting area so tile sits straight and grout joints stay consistent. Depending on the condition and design, a contractor may recommend additional measures to manage moisture migration.
- Surface cleaning and dust removal
- Patch/float to true up the waterline band
- Detail work at corners and transitions to reduce stress points
Not every pool needs the same system, and some “quick fix” products can be incompatible with submerged applications—so material selection matters.
4) Setting Tile, Grouting, and Detailing
Tile is set to a consistent line and allowed to cure before grouting, then joints are tooled and cleaned to reduce weak spots. Alignment at the waterline is important both visually and for long-term performance.
- Dry-layout key areas to keep cuts balanced at corners and features
- Set tile with appropriate thinset/mortar for submerged use
- Allow cure time before grouting (varies by product and conditions)
- Grout and clean without washing joints too low
On glass tile or specialty finishes, the correct mortar and grout selection is especially important to avoid shading, bond loss, or visible trowel lines.
5) Cure Time, Refill, and Startup
After repairs, the pool typically needs time for mortar and grout to cure before water exposure. Startup should be done in a way that avoids aggressive brushing or chemistry swings that could weaken fresh grout.
- Follow product-specific cure and refill guidance from the installer
- Bring water chemistry back into balance gradually
- Avoid harsh scale treatments on fresh grout until fully cured
Because cure times vary widely by materials and weather, it’s reasonable to ask your contractor what products are being used and what timeline those products require.
When Tile Repairs Are a Sign of Bigger Pool Problems
Loose tile can be an isolated issue, but it can also be a symptom of broader wear at the bond beam, plaster line, or structural transitions. Identifying these conditions early can prevent repeated waterline failures.
If the pool surface is nearing the end of its service life, it may be more efficient to coordinate tile work with other restoration tasks rather than repairing the same band multiple times.
- Bond beam cracking: Recurring grout splits near the top of the wall can suggest movement or cracking that needs correction.
- Plaster deterioration near the waterline: Rough, eroded, or flaking plaster can undermine the tile line and trap debris.
- Chronic leaks or saturation: Persistent moisture behind the tile may indicate a leak that should be addressed before retiling.
- Repeated patch history: Multiple past fixes often mean incompatible layers and weak substrates are present.
If you suspect multiple issues, a broader pool repair plan can help align tile work with the rest of the pool’s condition and avoid duplicating drain-and-refill downtime.
Choosing Materials and Finishes for Waterline Tile
Waterline tile has to handle constant wet/dry cycling, chemical exposure, and cleaning—so durability and maintainability matter as much as appearance. Your existing pool type and finish also influence which products are appropriate.
Swimming pools are harsh environments by design: they combine water exposure, disinfectants, and frequent cleaning, which is why material selection and installation quality are critical for long-term performance in any swimming pool.
- Ceramic/porcelain tile: Common for waterlines due to durability and wide design options; replacement matching is often possible if the line isn’t discontinued.
- Glass tile: High-end appearance; typically requires careful substrate prep and compatible mortars/grouts for strong bond and uniform look.
- Natural stone: Can be used in select applications but may require more maintenance and careful chemistry management to reduce staining/etching risk.
Ask what grout type is being used and why, especially if your pool sees heavy scale or you’ve had recurring grout erosion. The “best” choice depends on your pool’s chemistry habits, exposure, and cleaning routine.
How to Reduce Repeat Failures After Tile Repair
Even a well-executed repair can fail early if the underlying causes—movement, water intrusion, or chemistry—aren’t addressed. A few practical habits and periodic checks go a long way for pool tile repair San Diego homeowners want to last.
- Maintain stable water chemistry: Avoid extended periods of aggressive or scale-forming water to reduce grout wear and mineral buildup.
- Use safer scale management: Start with non-abrasive options and test small areas before aggressive scraping or grinding.
- Watch the expansion joint: Keep the deck-to-pool joint maintained so water and debris don’t funnel behind the tile line.
- Address drainage and overspray: Redirect sprinklers and manage deck washdown so water doesn’t constantly saturate the bond beam.
- Do periodic “tap checks”: Early hollow sounds can be repaired in smaller sections before widespread delamination occurs.
If you’re already planning broader work around the yard or pool area, it can also help to coordinate timelines so heavy construction vibrations or deck changes don’t immediately stress a fresh tile installation.
Planning Your Repair: Access, Downtime, and What to Ask a Contractor
Most surprises in tile repair come from hidden delamination, discontinued tile, or discovering that the substrate needs rebuilding. A few upfront questions can clarify scope and help set realistic expectations.
Project Planning Considerations
Access and logistics affect everything from dust control to how quickly materials cure. San Diego weather is generally favorable, but coastal humidity and cool nights can still influence cure time and scheduling.
- Drain/refill needs: Some spot repairs can be done with water lowered, while larger resets may require draining—your contractor should explain what’s needed for your pool.
- Tile matching: If your tile is discontinued, you may need a design compromise, a contrasting accent band, or a larger replacement area.
- Noise and debris control: Demolition at the waterline creates dust and fragments; ask how the area will be protected and cleaned.
- Cure and startup timing: The refill and chemistry plan should follow the products used, not just a generic timeline.
Smart Questions to Ask Before Work Starts
Clear scope and material choices are more important than the fastest timeline. Asking detailed questions helps ensure the repair addresses the actual failure mechanism.
- How far beyond the visibly loose tiles will you sound and remove hollow areas?
- What condition is the substrate in after removal, and how will it be rebuilt if it’s uneven or weak?
- Which mortar and grout will you use for this application, and what cure time do they require before refill?
- How will you handle the coping/expansion joint area if movement is contributing to the failure?
- What should I do differently with cleaning and chemistry for the first few weeks after startup?
Getting a Longer-Lasting Result From Pool Tile Repair in San Diego
The most reliable repairs combine correct demolition boundaries, solid substrate prep, compatible materials, and a startup plan that protects fresh grout and bond lines. When you address both the visible damage and the reasons it happened—movement, moisture, or chemistry—you reduce the odds of tile popping off again.
If your pool has multiple aging components (tile, plaster, coping, or deck interfaces), it can also help to evaluate the entire system so repairs are coordinated instead of piecemeal. For homeowners weighing timelines and project sequencing, it may be useful to review guidance on working with a swimming pool contractor in San Diego to plan the scope and minimize repeat downtime.
Frequently Asked Questions
What are the first signs that I need pool tile repair in San Diego?
You likely need pool tile repair when tiles sound hollow, shift under pressure, or grout is cracked or missing. Persistent calcium deposits that keep returning can also hide gaps and delamination, especially along the waterline where stress and moisture concentrate.
Why does waterline tile pop off or loosen in San Diego pools?
Waterline tile usually loosens due to movement, moisture intrusion, and bond breakdown working together. Deck-to-pool shifting, worn expansion joints, coastal humidity or inland heat cycling, and water chemistry swings can weaken grout and allow water behind the tile.
Should I do a spot fix or replace the entire waterline tile?
A spot fix works when only a few tiles are loose and surrounding areas sound solid. Full or sectional replacement is typically better when multiple areas sound hollow, grout is failing across a run, or past patch layers and poor prep indicate widespread delamination.
What does a proper pool tile repair process include?
Proper pool tile repair includes sounding to map hollow areas, removing loose tile and failed mortar to a stable substrate, rebuilding and leveling the setting surface, then setting tile with submerged-rated materials and grouting after appropriate curing. Skipping prep commonly leads to repeat failure.
How can I prevent repeat failures after pool tile repair?
You can reduce repeat failures by keeping water chemistry stable, using non-abrasive scale management, and maintaining the deck-to-pool expansion joint so water and debris do not funnel behind the tile. Also address drainage and sprinkler overspray that keeps the bond beam saturated.
Get a Clear Plan for Pool Tile Repair That Holds Up
If you’re seeing loose waterline tile, missing grout, or recurring scale that won’t stay gone, the next step is figuring out whether you’re dealing with isolated failure or broader delamination. A straightforward inspection can help define the true repair boundary, clarify whether drainage or movement is contributing, and reduce the chances of chasing the same problem with repeated patch work.
Working with an experienced team also helps you choose repair methods and materials that make sense for submerged conditions, cure time, and startup—so the tile line looks right and performs better over time.